
 Back to Blog
Building Custom AR Apps for your Brand Just Got a Whole Lot Easier
 June 16, 2022
We often find brands in a dilemma of finding the right company to approach for their AR application development needs. Usually, it takes months to develop an app, and companies are hit with heavy rates and are often dissatisfied with the result. We understand how beneficial augmented reality apps can turn out for your business and the feel of missing out on something that your competitor is already trying out. So, at iBoson, we enable you to create custom AR apps of your choice without even writing a single line of code. Let’s check out this in detail.
iBoson has launched an augmented reality creation platform, UniteAR, that enables anyone without technical knowledge to build AR apps of their choice. Here in this blog, we show you how to build zero-code custom augmented reality apps with just a few steps.
How to Build Custom AR Apps for your Brand
How to Build Custom AR Apps for your Brand
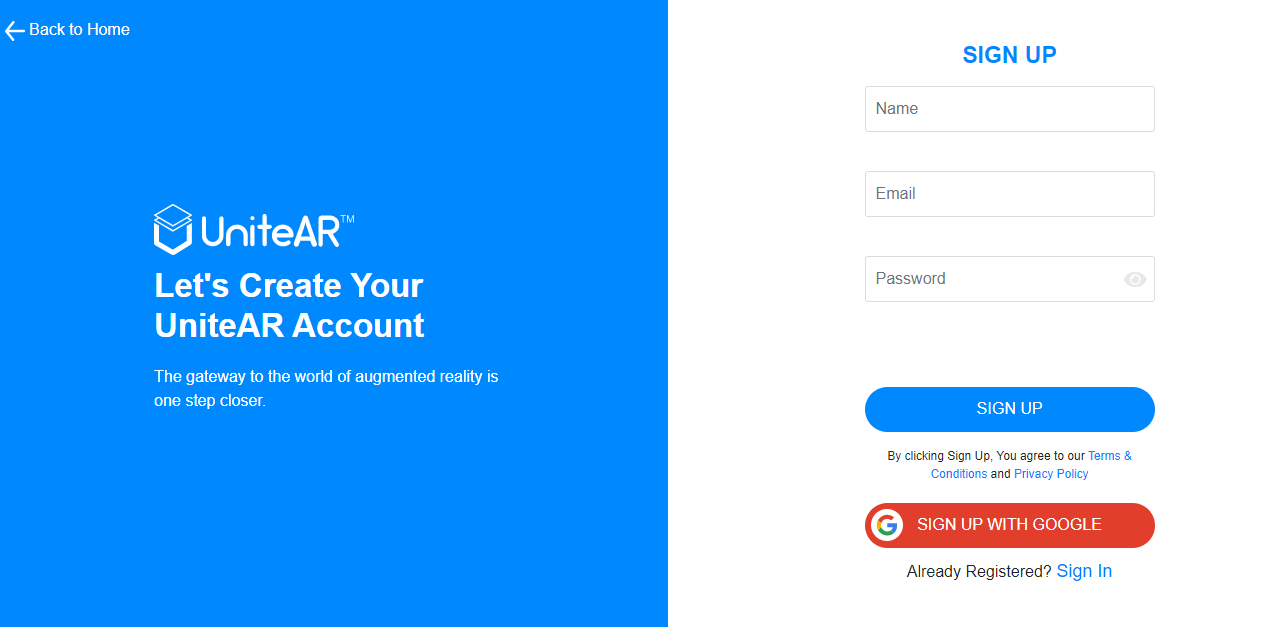
1. Create an account with https://app.unitear.com/signup by entering your name, email and password.
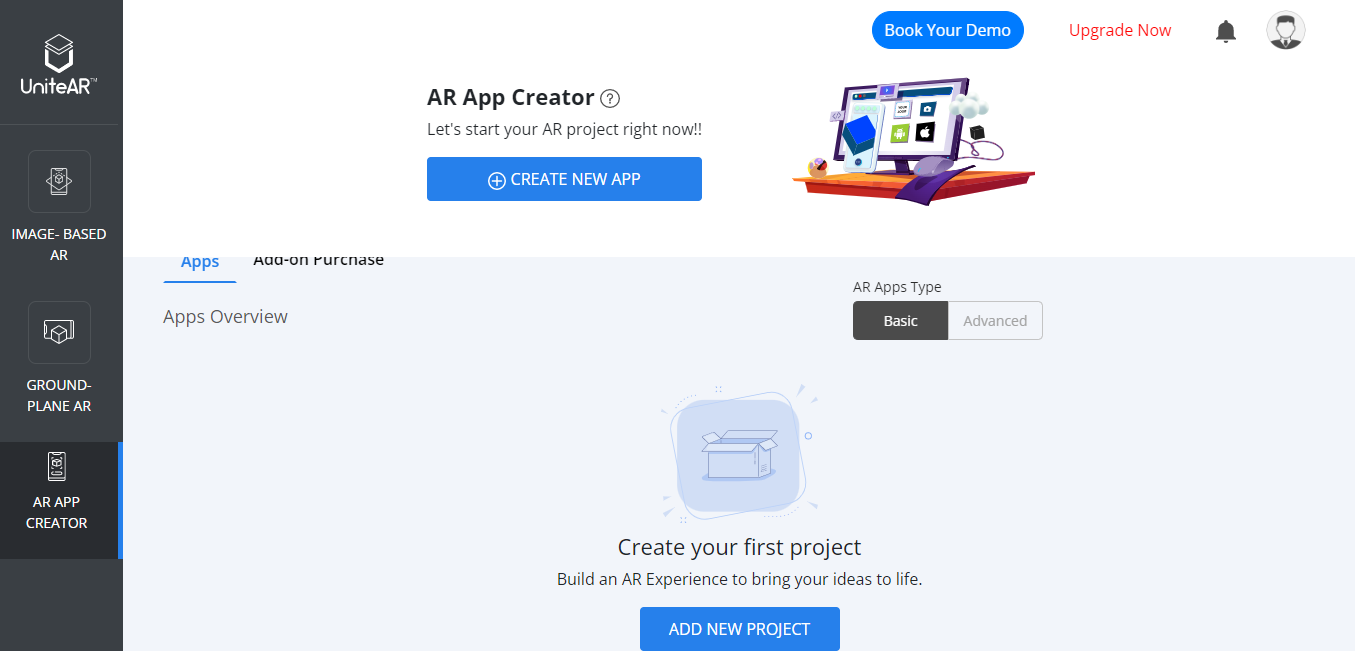
2. After signing up, select AR App Creator from the dashboard and create a new project by clicking on the Add New Project
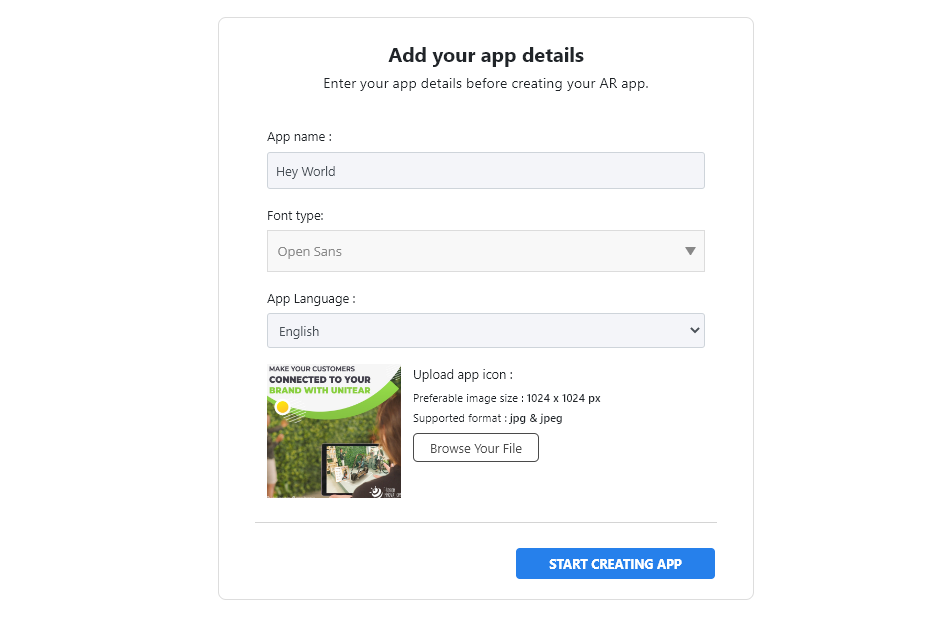
3. Enter the basic details of your app, add logo and then click on start creating app button.
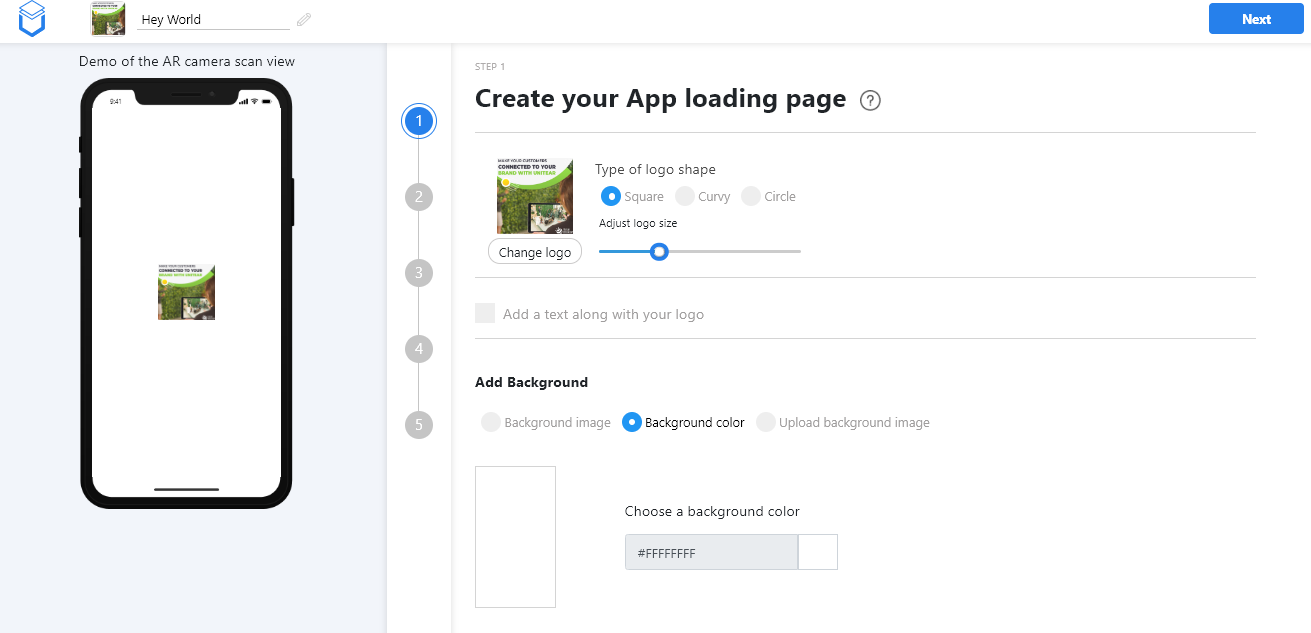
4. Create the loading page of your app by setting the logo shape, text and background color and then click on the Next button.
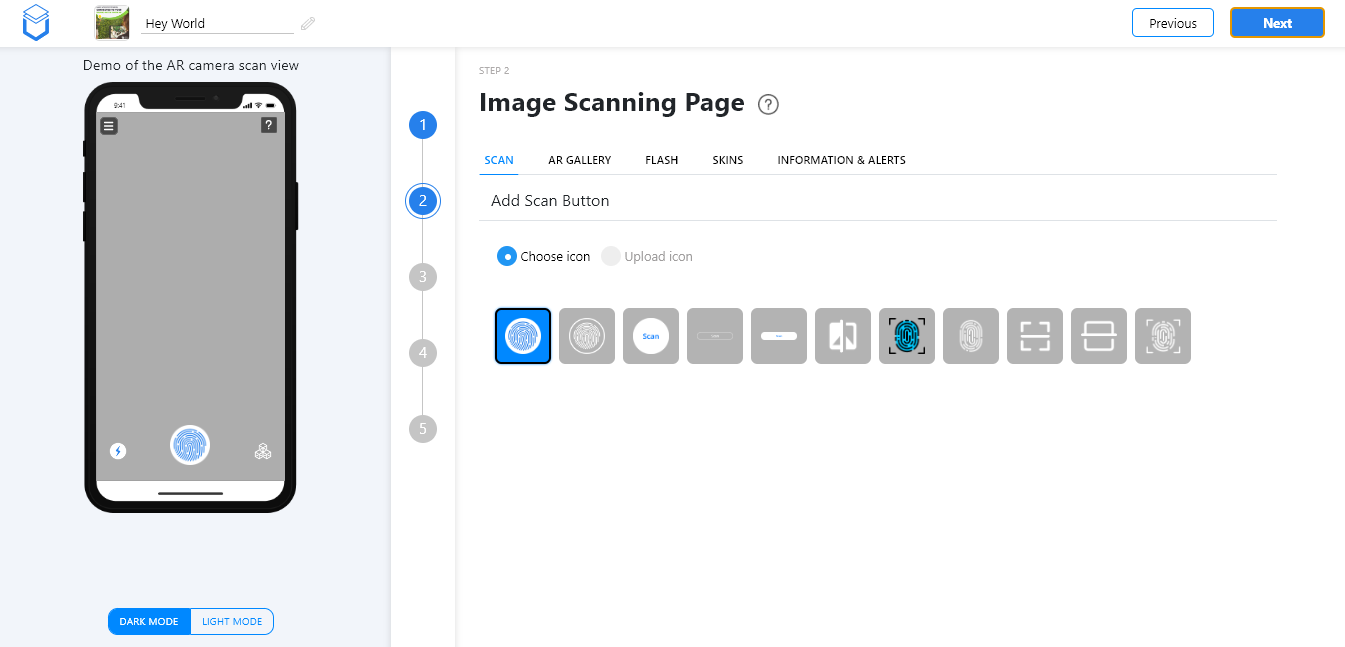
5. In the image scanning page, choose the scan icon first from the listed ones or upload an icon of your choice.
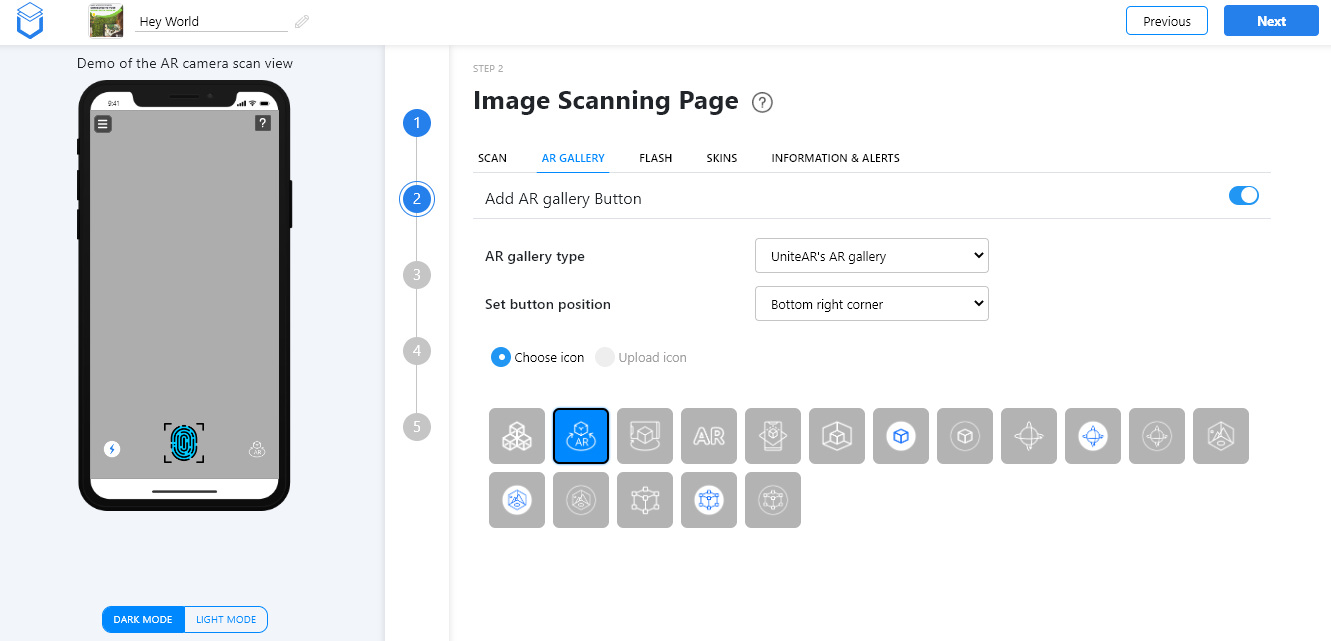
6. Click on the AR Gallery tab and choose your gallery type, button position and the icon.
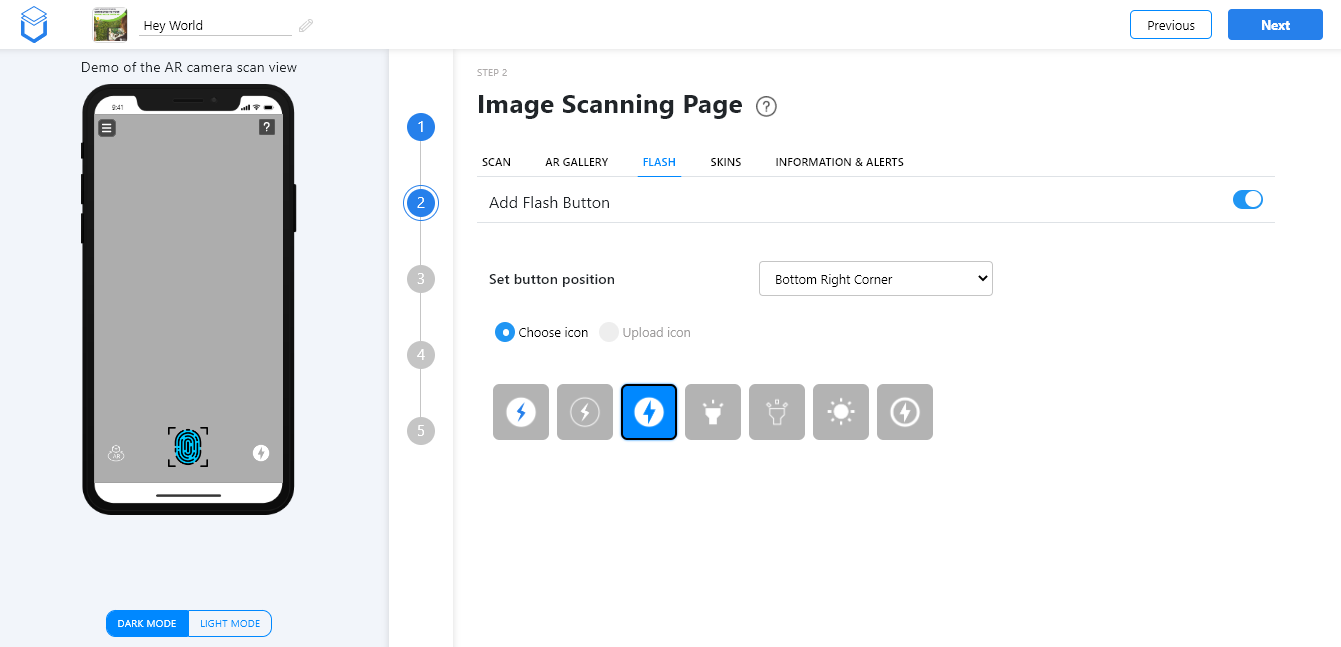
7. Click on the next tab, Flash. Choose the flash button of your choice, set the button position and icon.
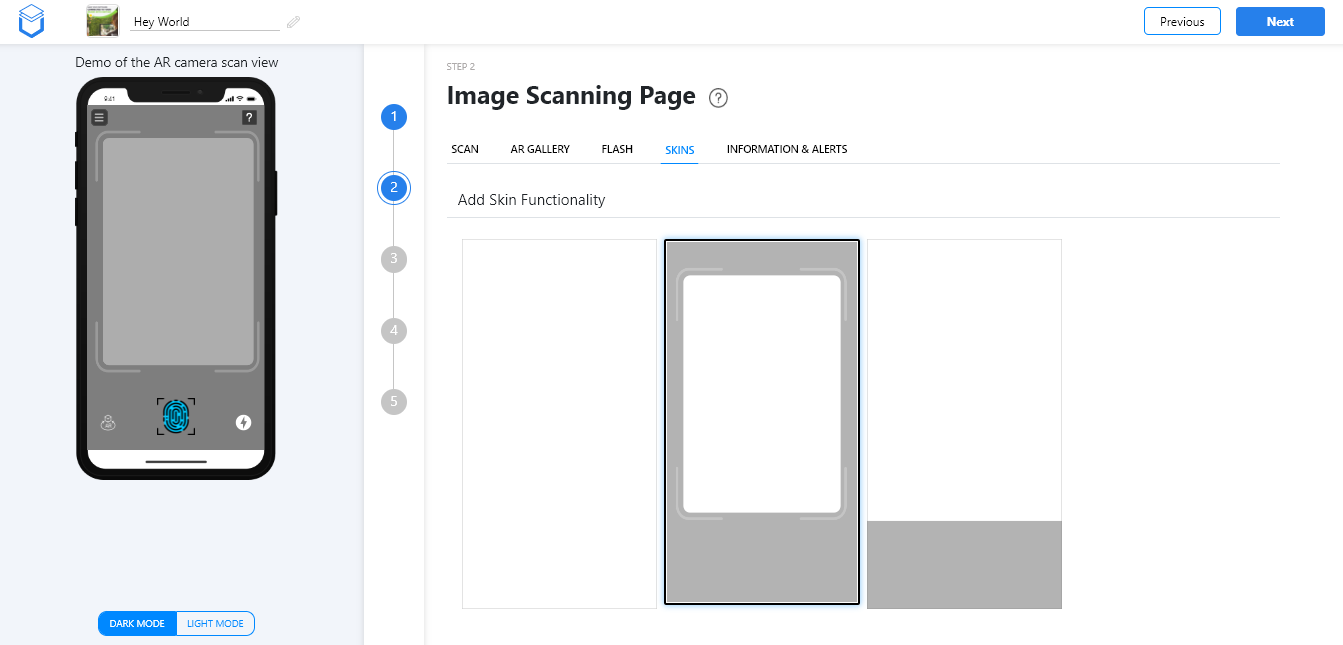
8. In the Skins tab, choose the skin functionality of your choice.
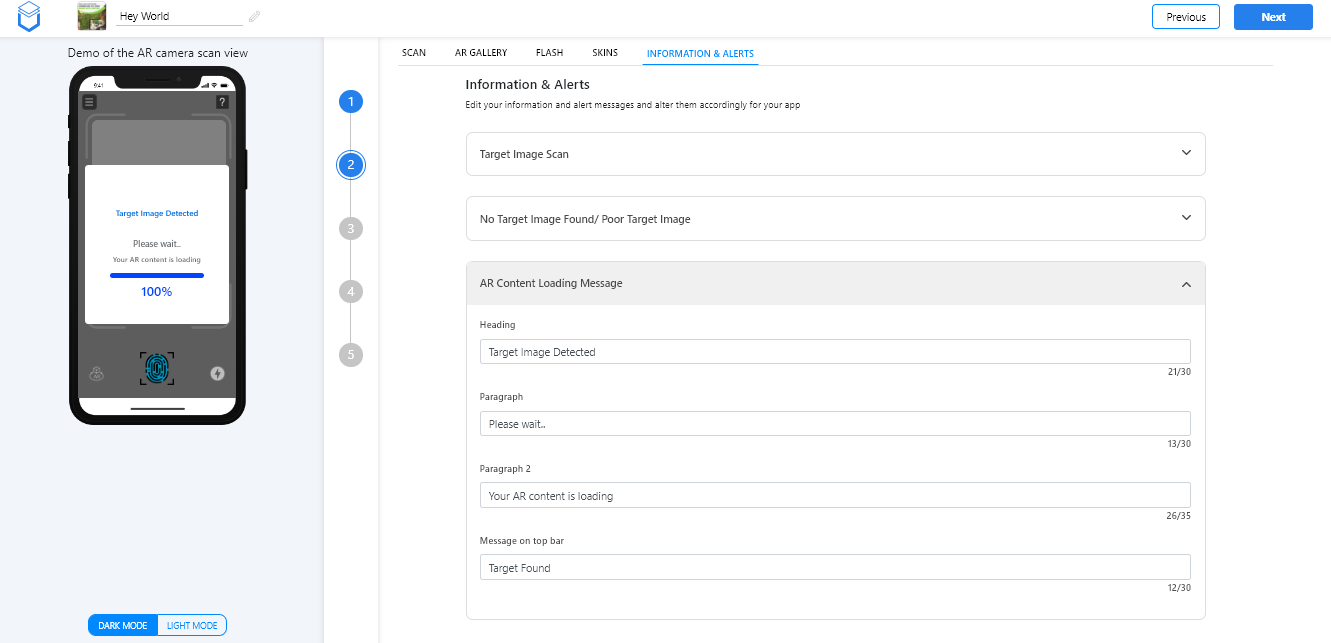
9. Set the information and alerts you want on the image scanning page and then click on Next button.
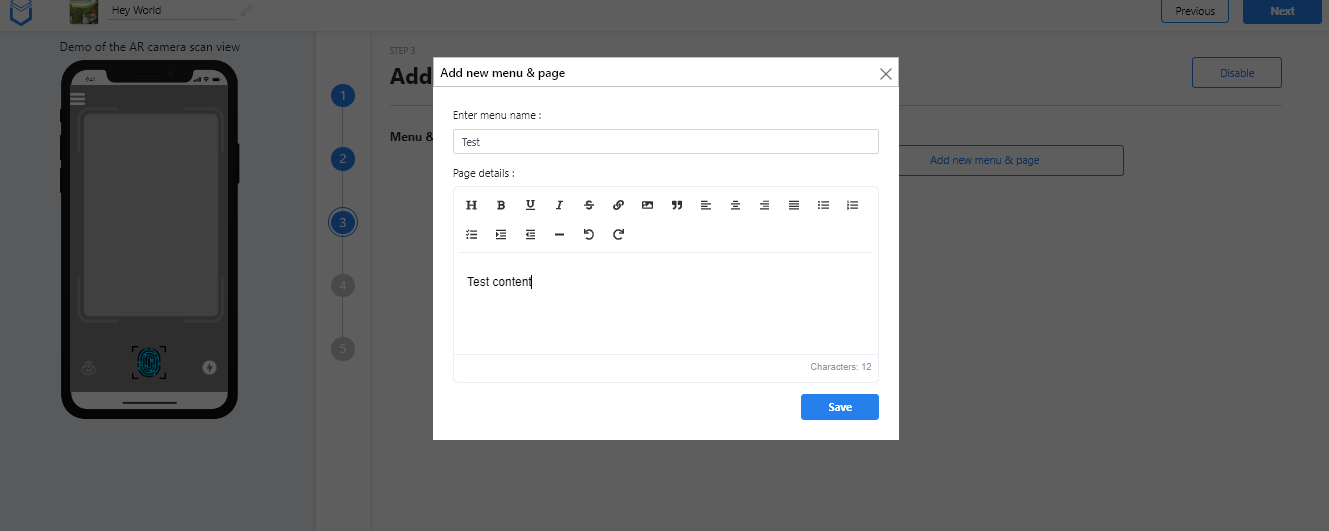
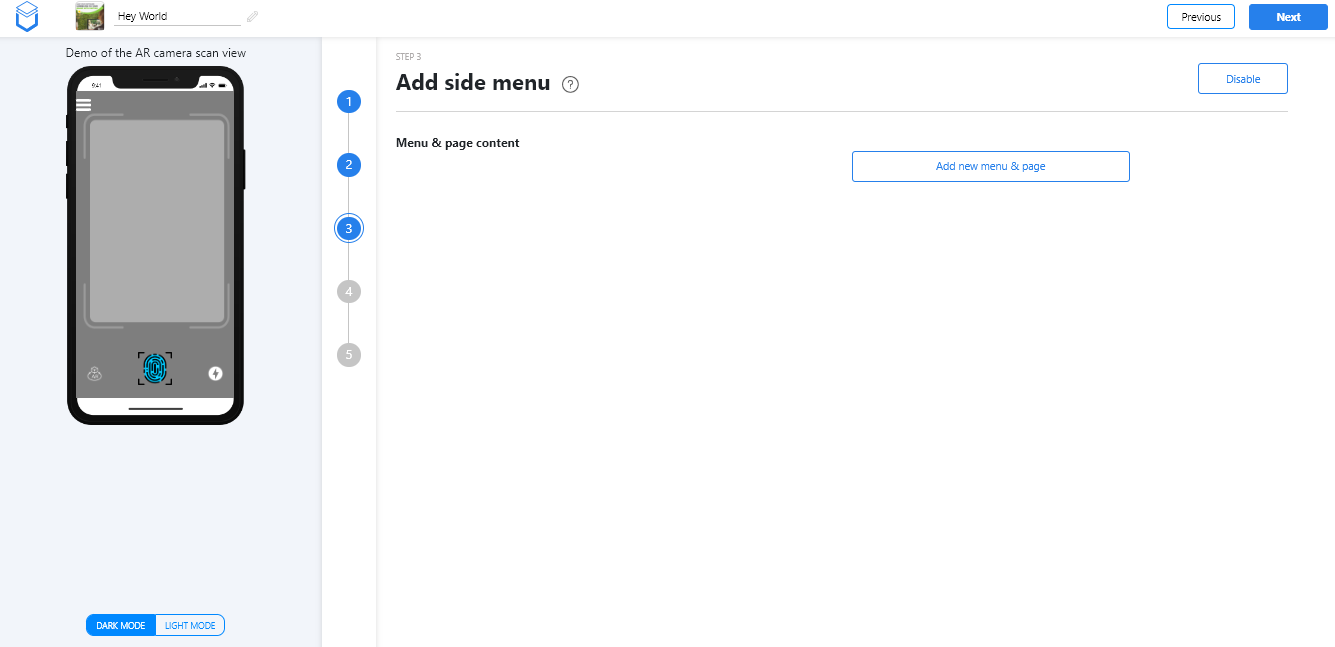
10. You can add side menu to your image scanning page by clicking on the disable/enable button. Add the menu and description and then click on save. If you don’t wish to add a side menu, then you can disable this section and click on Next button.
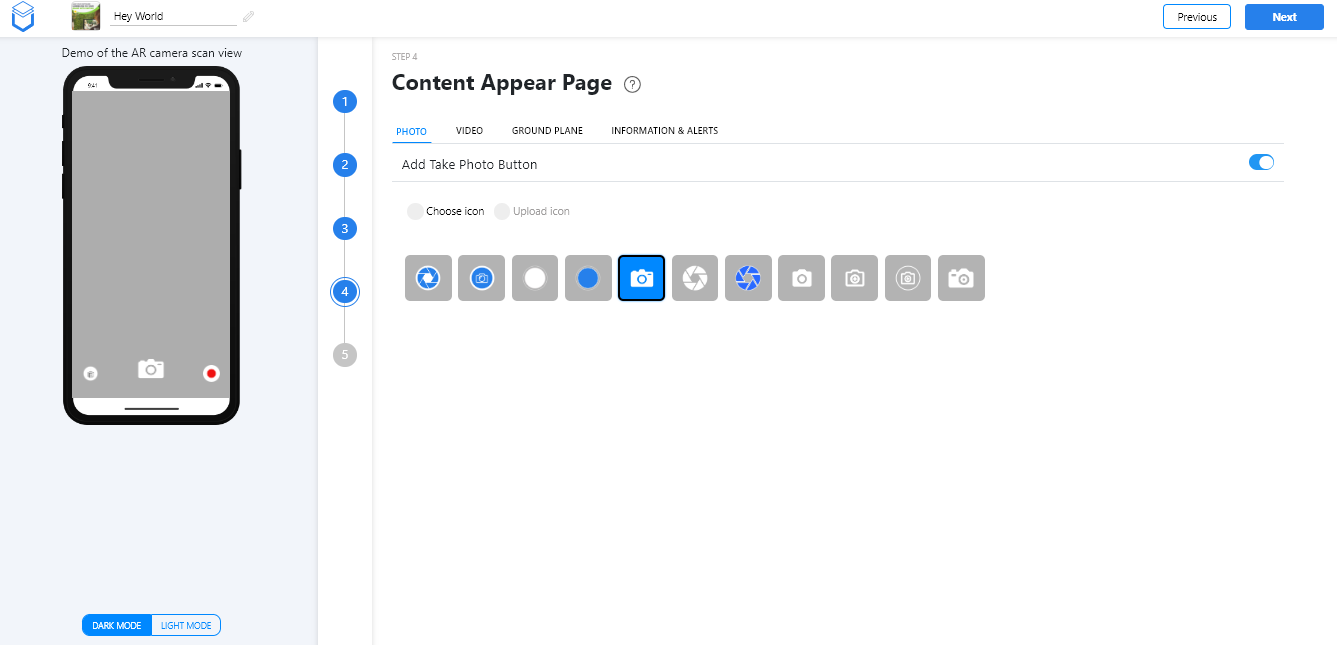
11. Next is the Content Appear Page. You can add photo, video and ground plane icons to the content appear page or you can skip and click on Next button.


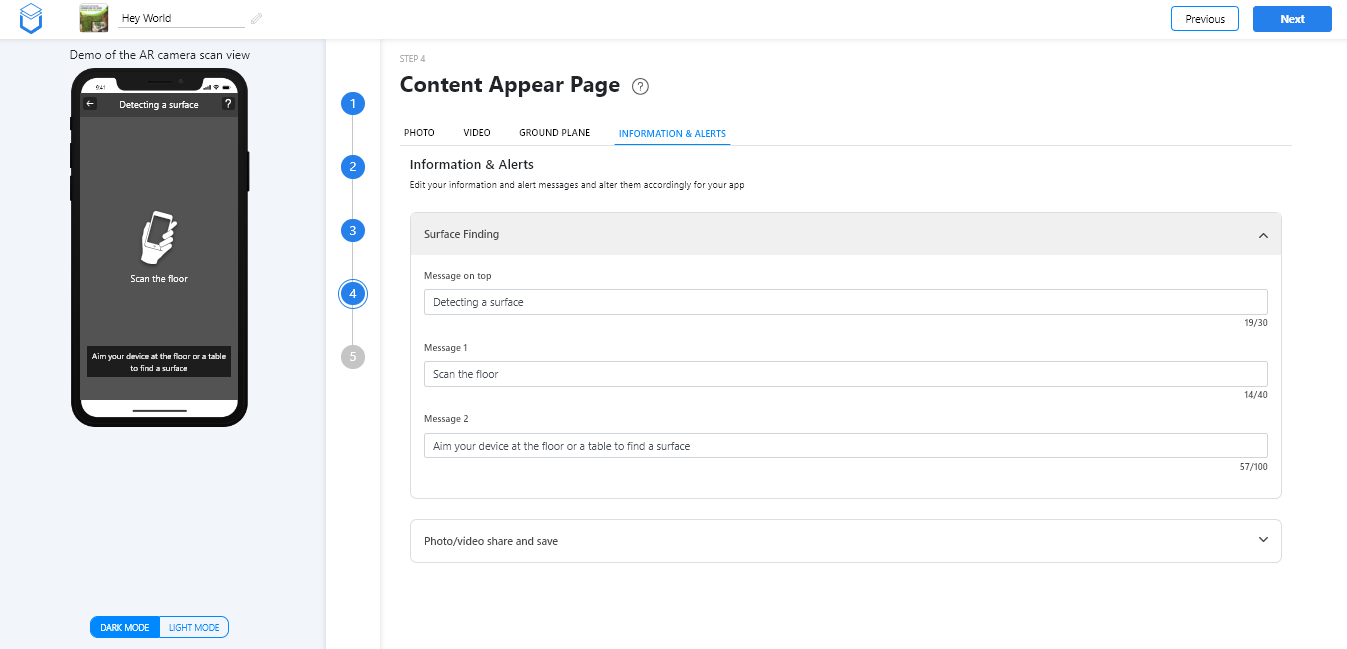
12. You can edit or add information and alerts on the content appear page on the Information & Alerts tab. Then click on the Next button.
13. The final step is to add help sliders. You can choose any slider from the three given and then click on Finish Steps button.

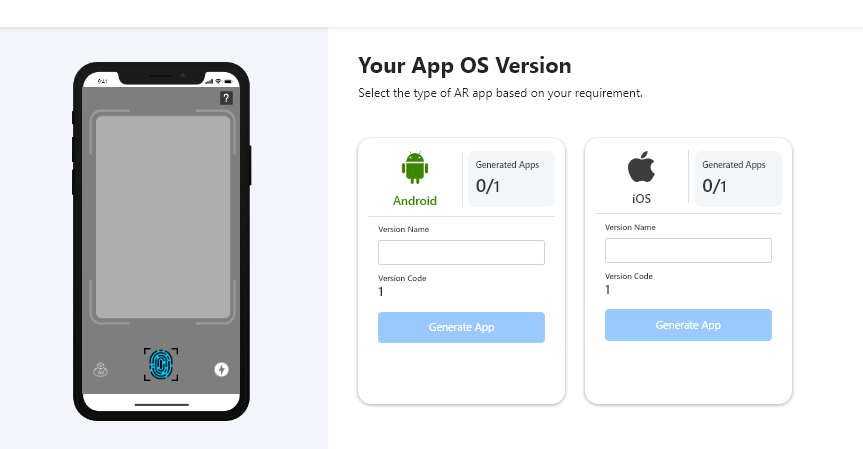
14. Provide the Android and iOS app versions and then click on generate app and Tada, your custom AR app is ready!
Conclusion
In this time where augmented reality apps are gaining momentum don’t be the last to utilize this technology. We know creating an AR app shouldn’t be a headache, and that is why we created UniteAR , the AR creation platform that can be used by beginners to professionals. To schedule a meeting to discuss your requirements, send us a mail to info@iboson.io